List
>>>What is Ultimate SD Upscale?
In Section 4-6, we looked at upscaling using img2img. This time, we will explain another way of upscaling using an extension called Ultimate SD Upscale. First, let’s start by installing the extension.
About the Stable Division Extension
Stable Diffusion and AUTOMATIC1111 are open source licenses that disclose the source code of the program. This means that anyone can use the program and develop and disclose additional programs. By using these additional programs, you can add new functions to suit your usage environment or expand them to use them more freely, so let's actively use them. However, some extended functions have restricted licenses, so be sure to check before installing.
>>> Install the extension.
All extensions can be installed via the WebUI. First, launch the WebUI and open the Extentions tab. Select Install from URL, and then click and copy and paste the code from the GitHub page of the extension you want to install into the URL for extension's git repository.
GitHub - Coyote-A/ultimate-upscale-for-automatic1111
https://github.com/Coyote-A/ultimate-upscale-for-automatic1111

Once the installation is complete, click on the Installed tab and check if Ultimate SD Upscale is in the list of installed extensions. If it is not in the list, click on Apply and quit to restart the WebUI and check again. For Colab, you will need to run the last cell of the notepad again and then access the new Gradio URL.

>>>Let's try Ultimate SD Upscale
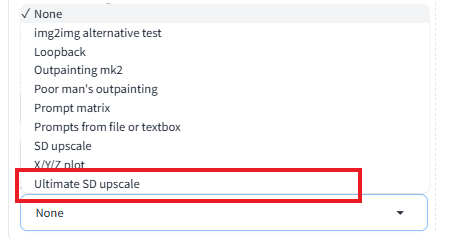
Restart the WebUI. Since Ultimate SD Upscale is an extension used by img2img, go to the img2img tab. Select Ultimate SD Upscale from the Script menu at the bottom of the Generation tab.
In the Ultimate SD Upscale menu, set five additional parameters.

- Target size type
Specifies the size of the upscaled image.
From img2img2 settings: Matches the settings in the img2img tab.
Custom size: A slider is displayed, specifying the width and height sizes respectively.
Scale from image size: Specifies how many times the size of the input image will be scaled.
- Upscaler
Select the upscaler algorithm to use.
- Type
When upscaling, AI divides the image and processes it. The divided parts are called 'tiles'. Here, we specify how to divide the tiles. For undulation, we can keep the initial state.
- Tile width/height
Specifies the size of the tiles.
- Mask blur
Specifies how much to blur the boundaries between tiles.
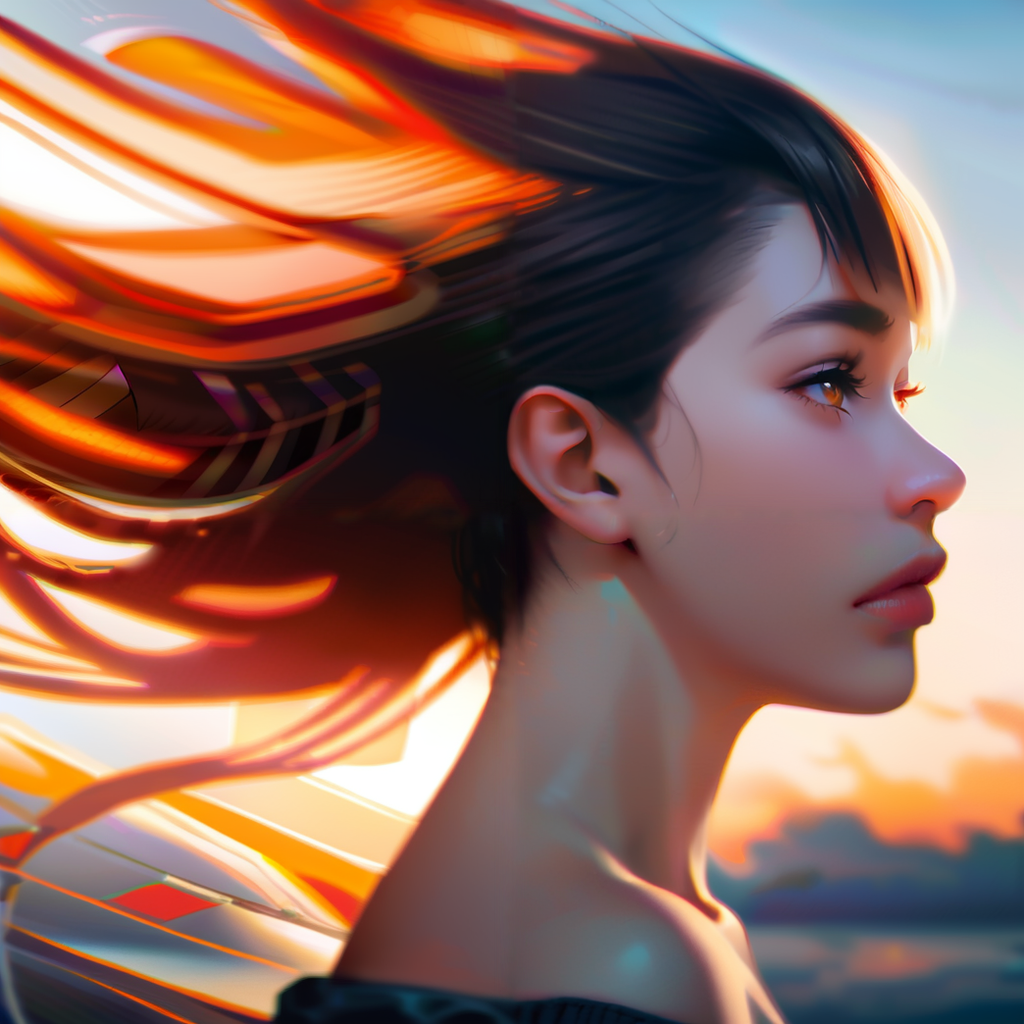
Okay, let's actually use it. First, prepare the image created with txt2img. Upload it to the img2img tab, and set img2img → Resize by: 2, Denosing strength: 0.5. Select Ultimate SD Upscale → Upscaler: R-ESRGAN 4x+, and create it while maintaining the default settings for other things.


Let's check the generated image


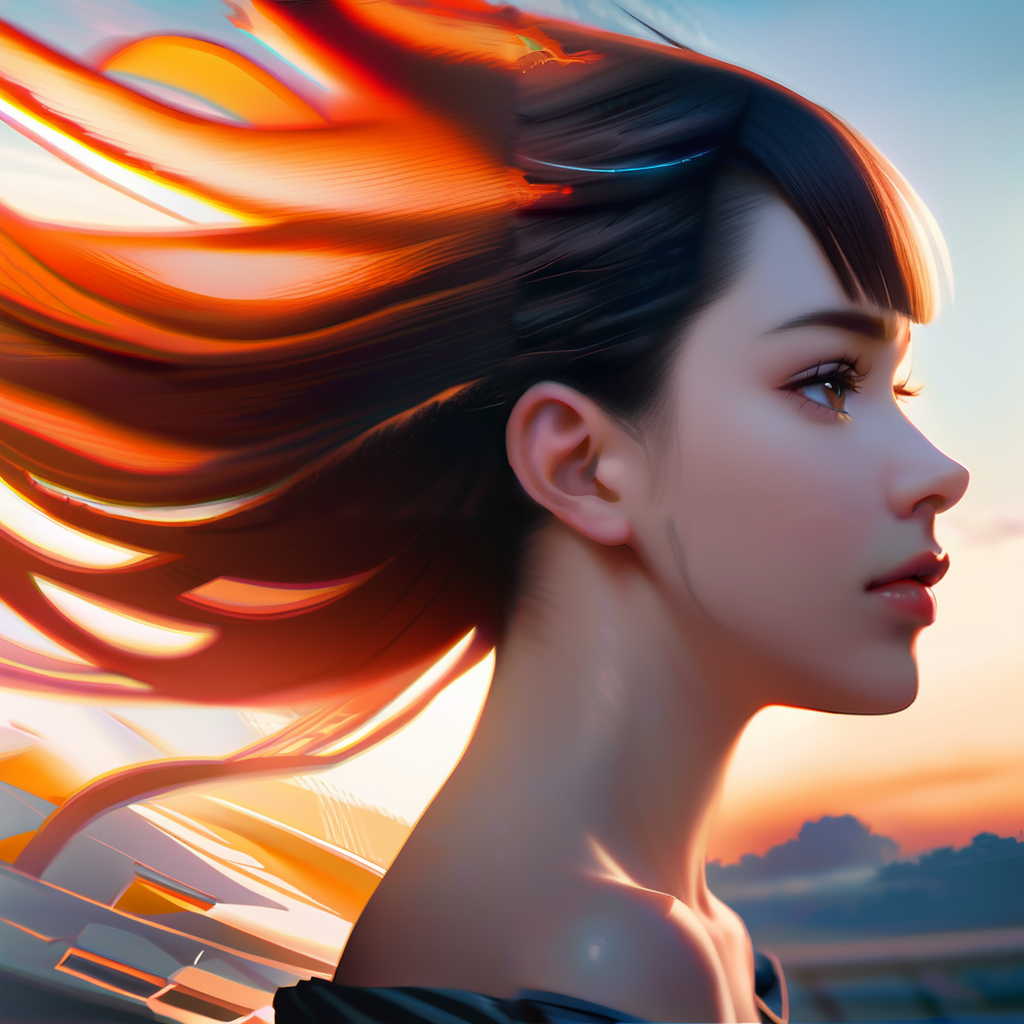
I just chose ESRGAN 4x+ as my upscaler, but I wonder what kind of images other upscalers will produce. Let's test it out.
Lanczos | Nearest | ESRGAN_4x | LDSR |
R-ESRGAN 4x+ | R-ESRGAN 4X+ Anime6B | ScuNET GAN | SwinlR 4x |


Comments
Post a Comment