List
>>>What is Outpainting?
In the previous section, we learned that using Inpaint, we can select a part of the input image and create it. Using Outpainting, we can create a new image that continues around the input image. This is useful when you find out later that there is a broken part in the subject of the image or that the image size is small.
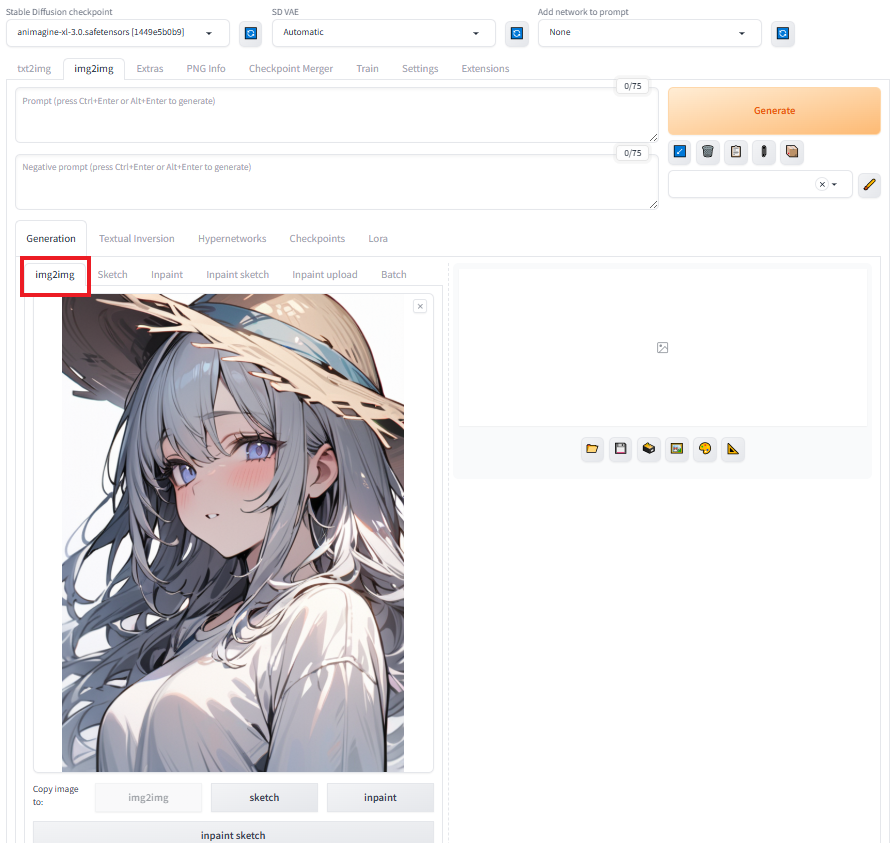
Here, we will proceed with outpainting using the most practical outpainting tool, Poor man's outpainting. First, open the img2img →img2img tab and upload the input image.
>>>Let's try Outpainting
Here, we will proceed with outpainting using the most practical outpainting tool, Poor man's outpainting. First, open the img2img →img2img tab and upload the input image.
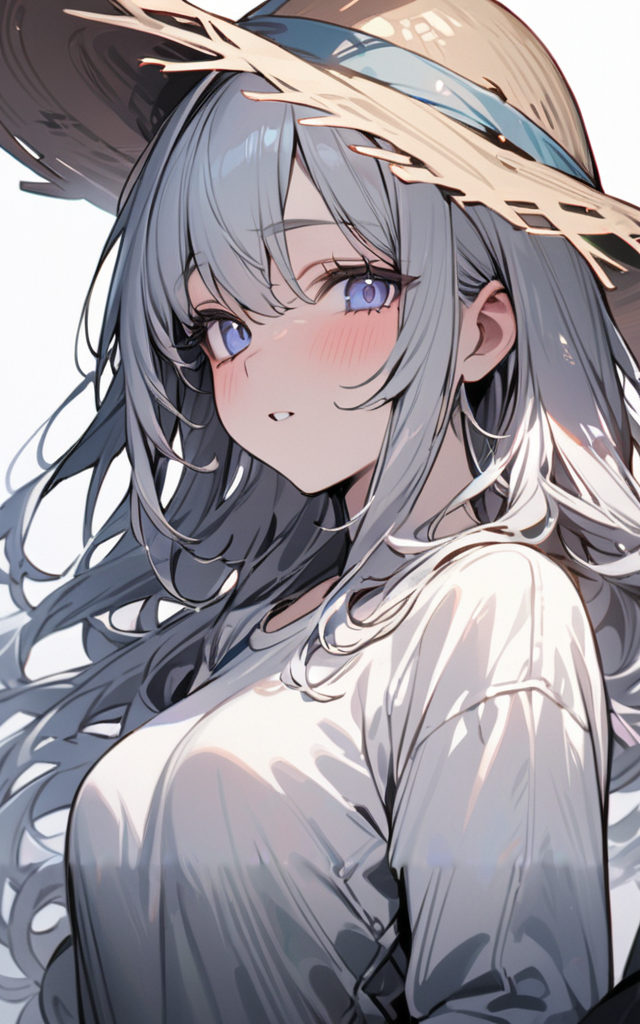
Prompt
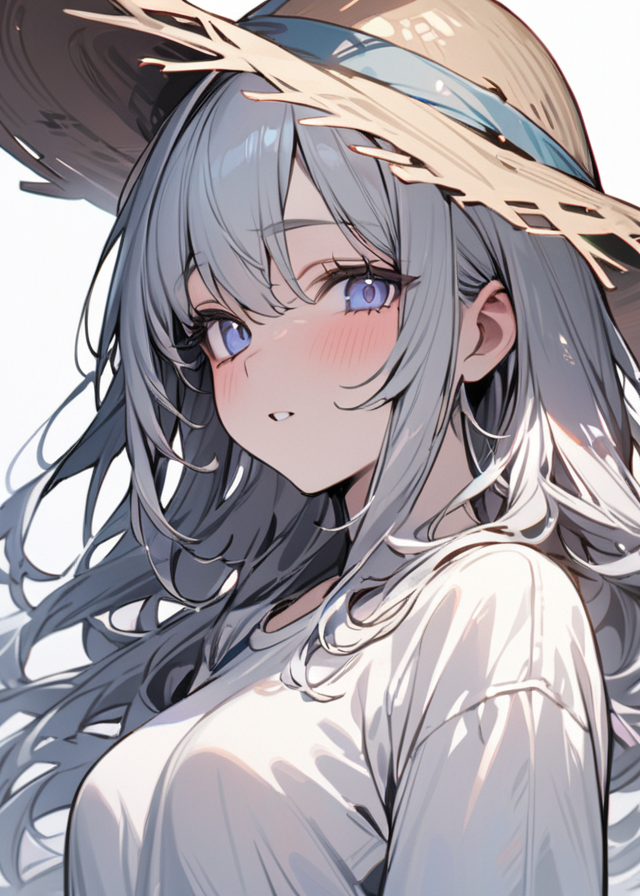
masterpiece, best quality, ultra detailed, fantasy,colorful, portrait, 1 girl, straw hat, white shirt,white background
Negative Prompt
worst quality, low quality, normal quality, easynegative, multiple girls,
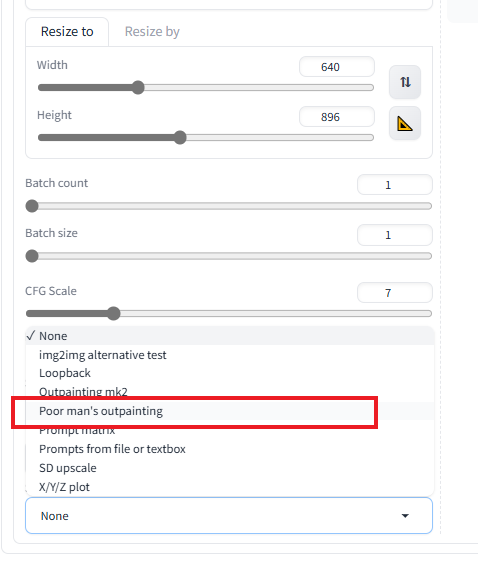
From the Script menu, select Poor man's outpainting. The Poor man's outpainting menu will appear, and you can set four additional parameters.
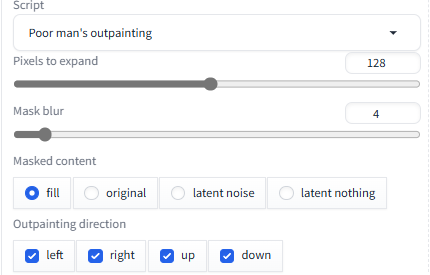
- Pixels to expand: Specifies the range to expand in pixels.
- Mask blur: Specifies how to blur the border between the input image and the newly created area.
- Masked content: Specifies the method to supplement the range to expand. There are four types of supplementation methods, just like Inpaint.
- Outpainting direction: Specifies the direction to expand in: up, down, left, or right. Multiple directions can be selected at the same time.
This time, let's expand the image at the bottom by setting Pixels to expand: 128, Mask blur: 4, Masked content: fill, Outpainting direction: down without changing the prompt.
If you repeatedly run Outpainting on an image that has been Outpainted, you can further expand the image. If the boundary with the expanded part is noticeable, try adjusting the Mask blur or Pixels to expand values.
Comments
Post a Comment