List
>>>Change expression
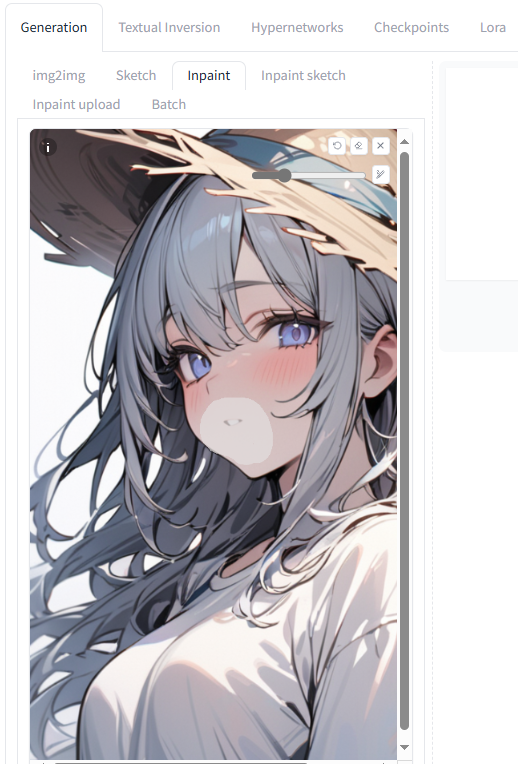
In the previous section, we explained how to mask with Inpaint and add a new prompt to reflect the content in the generated image. You can also use this feature to modify only the expression. For example, let's change the shape of the mouth of the input image to make it a smiling face. Upload the image to Inpaint, mask around the mouth, modify the prompt, and proceed with the image generation
.
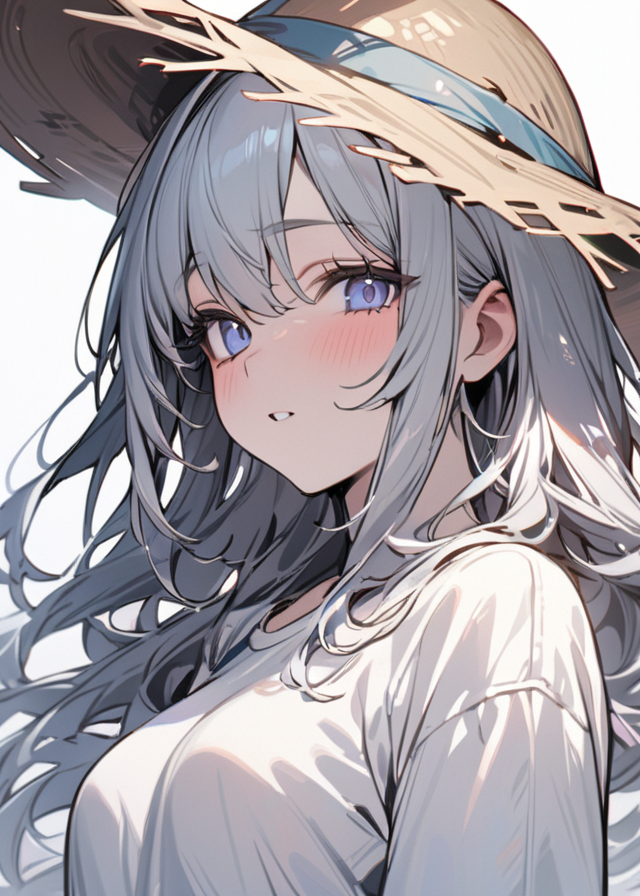
Prompt
masterpiece, best quality, ultra detailed, fantasy,colorful, portrait, 1 girl, straw hat, white shirt,white background
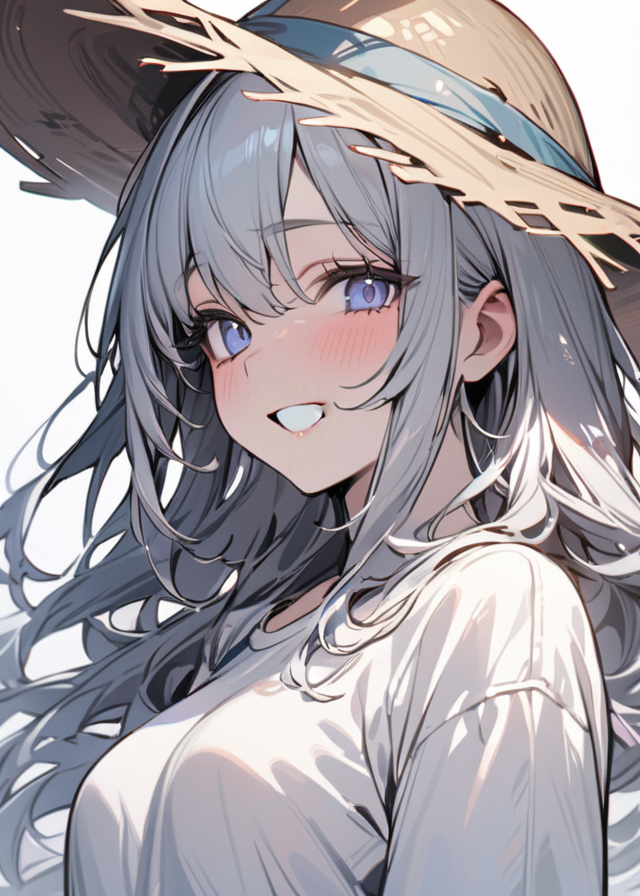
Prompt
masterpiece, best quality, ultra detailed, fantasy,colorful, portrait, 1 girl, straw hat, white shirt,white background,smile
>>>Add accessories
If you want to add hair decorations, accessories, ribbons, etc., just mask the area you want to create and give it a prompt. This time, let's add an earring to the right ear. Mask the area below the earlobe where you want to add the earring, and input the prompt 'star-shaped earring' to create the image.

Prompt
masterpiece, best quality, ultra detailed, fantasy,colorful, portrait, 1 girl, straw hat, white shirt,white background,star earring,
Comments
Post a Comment