List
>>>What is Inpaint?
Inpaint is a function that specifies a certain area (masking) of an input image, creates only that area, and then changes it. You can later add or delete the background and details of the input image.
>>>Let's try Inpaint
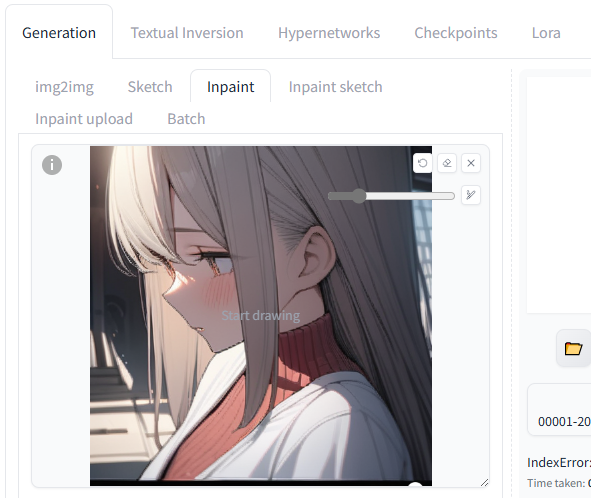
Now let's actually use Inpaint. Open the img2img tab, and select Generation → Inpaint tab. Drag and drop the input image into the area, or click inside the area to upload the file directly.
Prompt
masterpiece, best quality, ultra detailed, 1girl, upper body
Negative Prompt
worst quality, low quality, normal quality, easynegative,
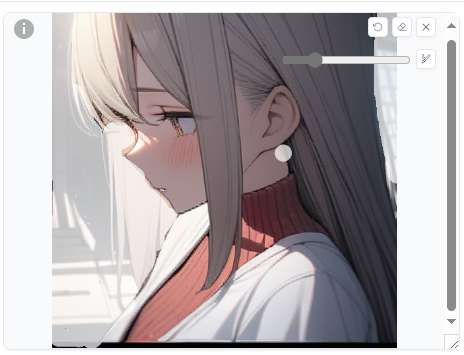
When you upload the input image, a toolbar will appear at the top right of the canvas, just like in Sketch. The operation method is the same as in Sketch. Color and mask all the parts you want to modify in Illustrator. This time, let's mask them by surrounding the background part.
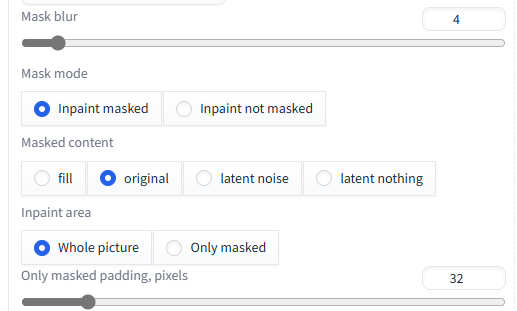
- Mask blur
Specifies the range to blur the boundary with the masked area in pixels.
- Mask mode
Sets how to handle the masked area.
impaint masked: Creates the masked area.
Inpaint not masked: Creates the area outside the masked area.
- Masked content
Selects how to handle the masked area in advance.
fill: Creates an image by filling the masked area with a color that is the same as the surrounding pixels.
original: Creates an image by leaving the masked area as the input image.
latent noise: Creates an image by filling the masked area with random noise.
latent nothing: Creates an image without giving any features to the masked area.
- Inpaint area
Sets the range to be the input target.
whole picture: Extracts features from the entire input image and creates an image.
Only masked: Creates an image by extracting features only from the masked area.
- Only masked padding, pixels
When Inpaint area: Only masked is selected above, specify how much to expand the masked area in pixels.
This time, I set Mask blur: 4, Mask mode: Inpaint masked, Masked content: original, Inpaint area: Whole picture.

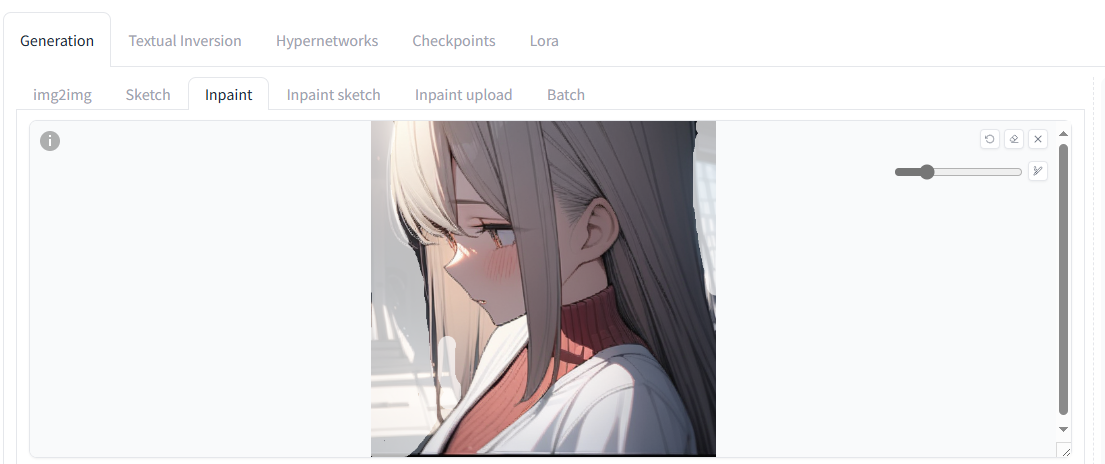
First, let's click the Generate button without entering the prompt. Then, the image is generated by only taking advantage of the features of the input image without being instructed by the prompt, so there is no significant change in the masked range.
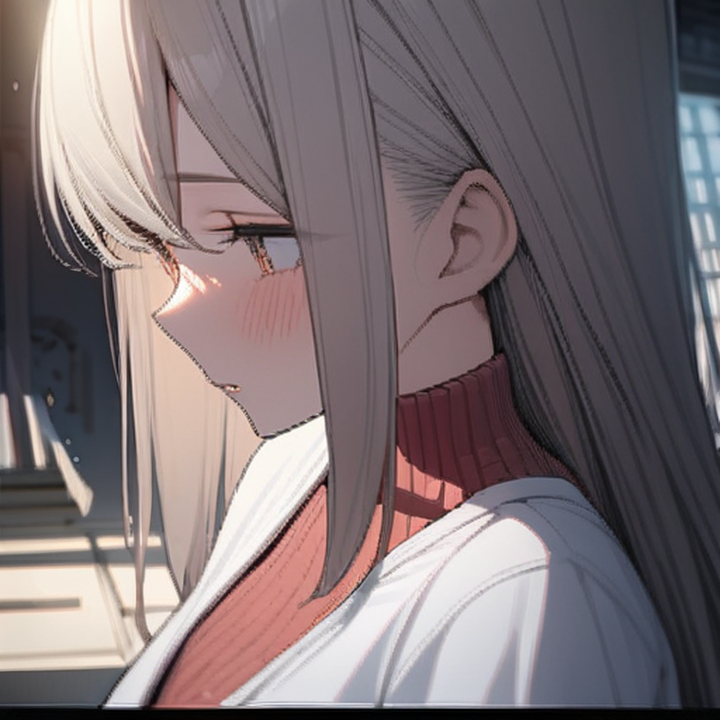
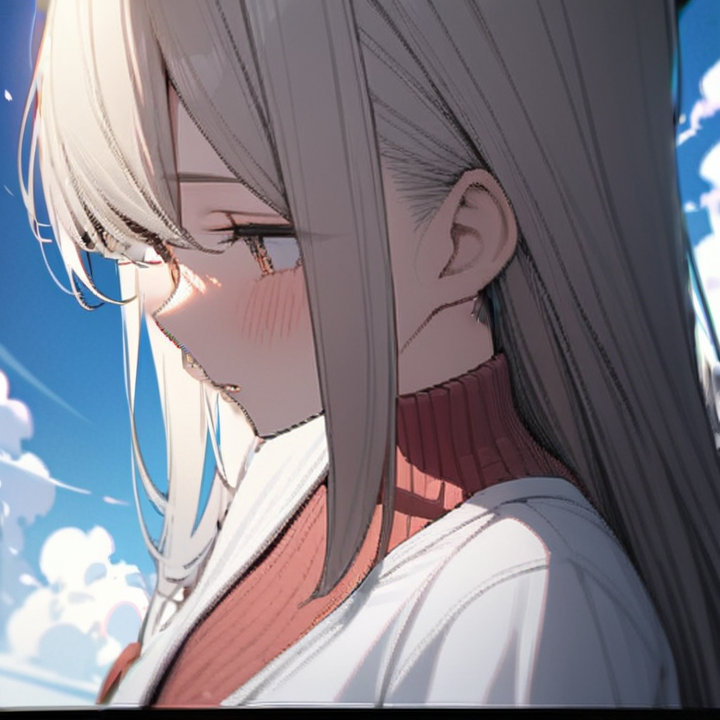
Next, let's change the background by writing a prompt this time. Let's change the background around the character by adding Prompt blue sky. The blue sky appears in the masked area as the prompt instruction is reflected.
Prompt
masterpiece, best quality, ultra detailed, 1girl, upper body, blue sky,
Negative Prompt
worst quality, low quality, normal quality, easynegative,
Comments
Post a Comment